Classic Southern Peach Cobbler

Peach Cobbler.JPG

Makes one 8” skillet (or 8x8 square pan)

INGREDIENTS

The Batter

  • 1/4 cup unsalted butter

  • 1/2 cup all purpose flour

  • 1/2 cup sugar

  • 1 tsp baking powder

  • 1/8 tsp salt (a generous pinch)

  • 1/8 tsp cinnamon (you could also add nutmeg and/or cardamom as well!)

  • 1/2 cup milk (whole or 2% is fine, almond milk would probably work too!)

  • 1/2 tsp vanilla extract

The Peaches

  • 2 cups fresh peach slices

  • 1/2 tbs lemon

  • 1 tbs honey

  • 2 tbs sugar

  • 1/4 cup brown sugar

  • dash of vanilla extract

  • sprinkle of cinnamon

DIRECTIONS

  1. Preheat oven to 375° F

  2. Melt butter in a skillet or pan that you will be using to bake the cobbler

  3. In a bowl, combine the flour, sugar, baking powder, salt, and cinnamon and whisk until well combined. 

  4. Add milk and vanilla extract and stir just until dry ingredients are moistened. Pour batter over the melted butter (do not stir).

  5. In a saucepan add peach slices, lemon juice, honey, sugar, brown sugar to a boil over medium high heat, stirring constantly.

  6. Once the sugar has melted and turned into a syrup and peaches are slightly softened, pour all of the peaches and syrupy liquid over the batter (still do not stir). Sprinkle with more cinnamon or other spices, if desired.

  7. Bake at 375° for ~35-40 minutes or until golden brown.

  8. Serve cobbler warm. It is especially delicious with ice cream!

ENJOY!

Flaky Garlic & Herb "2 Ingredient" Flatbread

IMG_2664.jpeg

(Makes 4 flatbreads, around 6in each)

INGREDIENTS

The Dough

  • 1 cup + 2TBS self rising flour
    (you may need to add up to 2 more TBS of flour depending on the humidity in your home and stickiness of the dough. My home is very humid and I used 1 cup and 4TBS of flour. I suggest not going over this.)

  • 1 cup fat free greek yogurt

  • 1 TBS sugar, optional
    (I added this to tone down the tangy flavor of the yogurt. However, it can be omitted if you like that sourdough like flavor!)

Garlic Filling

  • 2.5 TBS ghee

  • 3 tsp chopped garlic

  • 1 tbs chopped fresh parsley

  • pinch of salt

DIRECTIONS

  1. Mix together the self rising flour, greek yogurt, and sugar in your stand mixer (or by hand in a bowl) until it is well combined. If the dough is still sticky, feel free to add up to a total of 1 cup and 4 TBS of flour.

  2. Lightly cover the dough, still in the mixing bowl, and allow it to sit at room temp for about 15 minutes.

  3. While the dough is resting, mix together the garlic filling. In a small bowl add the ghee, chopped garlic, parsley, and pinch of salt and combine. Set aside.

  4. After the dough has rested, dust your work surface with a little more self rising flour. Portion the dough into 4 pieces.

  5. With each ball of dough, roll it out into a circle as thin as you can possible make it. Be sure to keep the rolling pin floured as well.

  6. Spread about 2 tsp of the garlic ghee mixture over the dough.

  7. Then, either roll or pleat the dough into a log. Roll that log into a tight spiral like a cinnamon roll. Then, roll it out again to about 6” circle.

  8. Repeat this with the remaining 3 pieces of dough. Then, it’s time to cook them!

  9. In a DRY skillet on medium low heat, cook each flatbread for about 2 minutes on each side until golden brown. Once removed from the heat, bend the flatbread ever so slightly to release any trapped steam. Then, set on a wood platter or paper towel as you finish cooking the rest.

  10. If you have any additional ghee at this point you can brush the flatbreads again!

  11. These are best served warm, but I am sure they would do well reheated on some foil in the oven at about 350F for 10 minutes.

ENJOY!

Note:

  • While I have not tested it, I also think they would freeze well. Just wrap them tightly in plastic wrap and store in a freezer bag. Reheat in foil in the oven.

Apple Cider Donuts

WhatsApp Image 2020-04-29 at 7.13.16 PM.jpeg

Apple Cider Donuts
(makes 12 donuts, plus donut holes!)

INGREDIENTS

Donuts

  • 2 cups apple cider

  • 1 apple, such as fuji or gala, chopped

  • 3 cups all-purpose flour

  • 1/2 cup whole wheat flour

  • 2/3 cup packed brown sugar

  • 2 teaspoons baking powder

  • 3/4 teaspoon salt

  • 1/2 teaspoon baking soda

  • 1/4 teaspoon each ground cardamom, nutmeg, cinnamon and allspice

  • 2 large eggs

  • 6 tablespoons butter, melted and cooled

  • Oil for deep frying

DIRECTIONS

  1. In a small saucepan, bring cider and chopped apple to a rapid boil; cook over high heat until reduced by half, about 12 minutes. Cool. Blend into a puree with immersion blender or blender.

  2. Whisk together flours, brown sugar, baking powder, salt, baking soda and spices. In a separate bowl, whisk eggs, melted butter and cooled cider; stir into dry ingredients just until moistened (dough will be sticky). Refrigerate, covered, 1 hour or until firm enough to shape.

  3. Divide dough in half. On a floured surface, pat each portion to 1/2-in. thickness; cut with a floured 3-in. doughnut cutter (or you can use a 3in circle cutter and then cut out the donut hole with a piping tip or anything you can find!).

  4. In an electric skillet or deep fryer, heat oil to 325°. Fry doughnuts, a few at a time, until golden brown, 2-3 minutes on each side.

  5. Fry doughnut holes, a few at time, until golden brown and cooked through, about 1 minute on each side. Drain on paper towels; cool slightly.

  6. If desired, dip tops of doughnuts into glaze of your choice or sprinkle with powdered sugar!

Enjoy!

Buttery Honey Biscuits

EB20F860-18C0-4D86-BFCC-4D1AA7AF5FC4.JPG

Recipe lightly adapted from Joy the Baker

INGREDIENTS
3 cups all-purpose flour
3 tablespoons granulated sugar
2 1/2 teaspoons baking powder
1/2 teaspoon baking soda
3/4 teaspoon salt
3/4 cup cold salted butter
1 large egg, lightly beaten
3/4 cup cold buttermilk
dash vanilla extract

For brushing the biscuits
3 tbs melted butter + 1.5 tbs honey

INSTRUCTIONS
1. Preheat oven to 400 degrees F. Line a baking sheet with parchment paper and set aside.
2. In a mixing bowl, sift together flour, sugar, baking powder, baking soda, and salt. Using your fingers, quickly work the butter into the dry ingredients (some of the dough should be the size of small peas).
3. In a small bowl combine egg and buttermilk and beat lightly.
4. Create a well in the center of the flour mixture and add the egg mixture all at once. Stir into a shaggy mixture. The dough will be moist, but not overly wet.
5. Turn dough out onto a lightly floured board and use a floured rolling pin to gently roll the dough into a into a 1-inch thick oval. At the short end of the dough closest to you, fold the dough over until the edge of the dough meets the center of the dough. Fold the top edge of the dough towards the center over the first fold. Gently roll the dough into a 1-inch oval and repeat the folding process again.
6. After the second fold, again roll the dough out to a 1-inch thickness and use a 2-inch round biscuit cutter to cut biscuits. Press any dough scraps together to make a few more biscuits out of the remaining dough.
7. Place 1-inch apart on the prepared baking sheet and brush lightly with melted butter.
8. Bake for 15-18 minutes or until golden brown on top. Right after removing from the oven, brush with the honey butter and enjoy!

Spiced Piña Colada Swiss Roll (GF, DF)

IMG_4431.JPG

While this cake is gluten and dairy free, it sure doesn’t taste like it! I really have high standards for gluten free/sugar free desserts and this really hits the mark for me. The cake itself does have a strong honey flavor, but it is nicely balanced by the coconut and pineapple. I have created this as a swiss roll, but if you want, you can also use an 8” cake pan for the base and just top the cake with the coconut whipped cream and pineapple. If you do use a cake pan, just add about 10-15min of extra bake time and check periodically! See below for the full recipe.

INGREDIENTS

Spiced pineapple honey cake

  • 170g almond flour sifted (1.5 cup / 6 oz)

  • 3/4 tsp baking powder

  • 1/4 + 1/8 tsp baking soda

  • 1/4 tsp cinnamon

  • 1/4 tsp ginger

  • 1/4 tsp sea salt

  • 3 eggs, beaten

  • 140g raw honey (.5 cup)

  • 3 tbs coconut oil, melted

  • 30g chopped pineapple — drained, if from a can (about 1/4 cup)

  • 1/4 tsp vanilla extract

Caramelized pineapple*

  • About 1 cup pineapple cut into chunks (fresh or canned! If you use canned, just be sure to drain it beforehand)

  • 75g granulated sugar

  • half vanilla bean or 1/4 tsp vanilla bean paste

  • About 1/4 tsp freshly grated ginger

  • 1 cinnamon stick

  • About 75g water

* To make this fully free of processed sugar, you can replace the granulated sugar with coconut sugar/coconut nectar. It won’t reduce as much but it will still be delicious

Whipped Coconut Cream**

  • one 13.5 oz can of organic coconut cream, chilled — chill in fridge for 1-2 days

  • 1/2 tsp vanilla extract

  • 2 tbs real maple syrup

  • 1 tsp cornstarch or tapioca starch

  • confectioners sugar, optional if you want it sweeter

**You will also need a mixing bowl and whisk that have been in the freezer for about 15 minutes

Toasted Coconut

  • 1/4 cup shredded coconut (sweetened or unsweetened)

DIRECTIONS

Make the cake:

  • Prepare half-sheet pan with baking spray and parchment. 

  • Preheat oven to 325°F

  • In large bowl whisk together almond flour, baking powder, baking soda, ginger, cinnamon, and sea salt.

  • In second bowl combine eggs, honey, olive oil, rum and crushed pineapple (make sure it’s drained!)

  • Pour wet ingredients into dry mix and stir gently with whisk until no clumps remain. 

  • Pour mixture into prepared pan. Bake for 20 minutes until top of cake springs back lightly. While the cake is baking, prepare caramelized pineapple (see below)

  • Once cake comes out oven, set on a rack to cool. Run knife around edges of the cake and Lay a clean tea towel on top. Allow cake to cool for 10 min.  (Keep oven on and use for toasting coconut)

  • After 10 min of cooling, invert the cake. Using a cake rack or a cutting board, lay down a piece of clean parchment and invert the cake onto the board. Remove the bottom sheet of parchment that was baked with the cake. 

  • From the long side of the cake, lightly roll the cake with the fresh parchment. Allow the cake to complete cooling in this position.

  • While it is cooling, prepare the toasted coconut, caramelized pineapple, and whipped cream

Toasted Coconut:

  • Place coconut on a baking sheet and toast in the oven for about 10-15 minutes. Check every few minutes to make sure it doesn’t get too dark.

Make the caramelized pineapple:

  • Cut pineapple rings into small wedges

  • In saucepan add sugar and about 50 g of water. Stir just to combine and cook sugar until it reaches a golden caramel color

  • Remove from heat and add in remaining water, vanilla bean paste/vanilla bean, ginger, and cinnamon stick.

  • Place pan back on medium heat back on heat and bring to a boil. 

  • Add in the pineapple and allow to simmer for about 5 minutes.

  • Set aside to cool in a heat proof bowl

Make the coconut whipped cream:

  • Scoop out the hardened coconut cream into the pre-chilled mixing bowl and leaving any clear liquid behind (reserve for smoothies, etc.)

  • Use with a hand mixer or stand mixer with whisk attachment and beat until light peaks form

  • Add in the cornstarch and mix until combined.

  • Add vanilla extract and maple syrup. Start slowly with the maple syrup. If it starts to loosen up the whipped coconut cream too much, you can add a little powdered sugar instead.

To assemble the cake:

  • Take the pre-rolled cake and lightly unroll it from it’s shape.

  • Fill cake with sweetened coconut cream. If desired, add some of the caramelized pineapple to the center.

  • Decorate the top of the cake however you like with the coconut cream, caramelized pineapple, and toasted coconut

ENJOY!

Carrot Graham Cake with Parsnips

C8EF3DEB-A48F-464D-8572-1A843EA83546.JPG

This Recipe makes a 2 layer, 8” cake that is super moist but also fluffy! I love this carrot cake because the graham and browned butter add a level of nuttiness and depth of flavor to the cake. Pairing the carrots with parsnips (when they are in season) is great because they also add a little additional sweetness to the cake. Also, since i love to play around with piping / painting with buttercream, I decided to make a cream cheese swiss meringue buttercream to fill and cover the cake. This buttercream has the flavor of traditional cream cheese but is less sweet and super silky.

INGREDIENTS

Carrot Graham Parsnip Cake Layers

  • 300g granulated sugar (1 + 1/2 cup)

  • 100g light brown sugar (1/2 cup)

  • 150g vegetable or canola oil (approx. 2/3 cup)

  • 150g browned butter, cooled (approx. 2/3 cup)

  • 180g eggs, room temperature (about 3 extra large eggs or 4 large eggs)

  • 2 tsp vanilla extract

  • 300g sifted all purpose flour (2 + 1/2 cup)

  • 100g finely ground graham cracker crumbs (approx. 3/4 cup)

  • 2 tsp cinnamon

  • 1 tsp ground ginger

  • .5 tsp nutmeg

  • 1.5 tsp baking soda 

  • .5 tsp baking powder 

  • 1.5 tsp kosher salt

  • 50-55g chopped toasted walnuts, tossed in 1tsp flour (approx. 1/2 cup)

  • 450 g carrots, finely grated (16oz OR 1 pound OR approx. 3 + 1/2 cup)

  • 100g finely grated parsnips, optional (approx. 2 cups)

Cream Cheese Swiss Meringue Buttercream
(makes ~5 cups, enough to fill, cover, and simply decorate a 2 layer cake)

  • 126g egg whites

  • 255g sugar

  • .25 tsp cream of tartar

  • 425g (~3.75 sticks) unsalted butter at 70°F (helps if you take the butter out when you start cooking the sugar/egg white mixture and it usually is right at the perfect temp/texture when it’s time to use)

  • .5 tsp kosher salt (use half as much if using table salt)

  • 226g softened cream cheese, room temperature (8oz block)

  • 180g confectioners sugar

  • 1.5 tsp vanilla extract or vanilla bean paste


METHOD

Prepare your ingredients / materials:

  1. Preheat the oven to 350 degrees F.

  2. Prepare 2 (8-inch) round cake pans. Butter and flour the pans or spray with baking spray (such as Baker’s Joy) and line the bottom of pan with a circle of parchment paper

  3. Prep all ingredients and measure them out 

    1. Make the browned butter and set aside to cool

    2. In the stand mixer bowl you can weigh the sugar, oil, eggs, and vanilla together

    3. In a separate large bowl you can weigh sifted flour, graham cracker crumbs, cinnamon, ginger, nutmeg, baking soda, baking powder, and salt. Whisk together for about 1 minute to ensure everything is evenly mixed (it really does take about a minute to ensure even mixing).

    4. Measure out the remaining ingredients (nuts, carrots, parsnips) in separate bowls

Prepare the cake:

  1. Beat the sugar, oil, and eggs together in the bowl of an electric mixer fitted with the paddle attachment until light yellow, about 3 minutes.

  2. Add the dry ingredients to the wet ingredients. And mix until just combined and you don’t see streaks of flour.

  3. With a spatula, fold in the carrots, parsnips, and walnuts and mix until evenly incorporated (again, just until you don’t see large pockets of batter)

  4. Divide the batter equally between the 2 pans.

  5. Bake for about 45 minutes, or until a toothpick comes out clean. Set pans on a wire cooling rack and allow the cakes to cool at least 20 min. Then remove cakes from the pan (be sure to remove the parchment on the bottom!)

Prepare the cream cheese swiss meringue buttercream

  1. Remove butter from fridge and cut into cubes to allow it to come to temperature (70°F)

  2. Fill a wide pot with at least 1 1/2 inches of water and create double boiler (make sure metal bowl does not touch water)

  3. In a metal bowl for stand mixer whisk egg whites, cream of tartar, and sugar.

  4. Place over the double boiler and bring mixture to 180 degrees F (start at medium high and then reduce to simmer). Should take no more than 10-15 minutes

  5. Once at temperature, move the bowl to mixer and use whisk attachment to whip up the meringue. Keep whipping until the temperature of the mixture reduces to 90 degrees F (about 8 min)

  6. Add in butter by small amounts and whip until it comes together. If it appears too loose or curdled keep mixing for at least 3 minutes. If it is still too loose, pop the bowl in the fridge for a few minutes and then try mixing again.  

  7. Add salt (you can go by taste and add more or less as needed)

  8. Switch to paddle attachment. Add in vanilla extract and continue to beat until the buttercream is glossy and smooth.

  9. In a separate bowl using a spatula or hand mixer, beat the softened cream cheese and sifted confectioners sugar until smooth.

  10. Once smooth, slowly add the swiss meringue buttercream to the cream cheese mixture and mix with paddle attachment until combined. 

Assemble Cake:

  1. Take each cake and trim off any domed top, as needed. 

  2. Place a cake board (or a plate will do) on a cake turntable (or cake stand). If using a cake board, adhere it with some masking tape or a nonslip mat to the turntable

  3. Put a dollop of frosting on the cake board / plate to prevent the cake from sliding. 

  4. Place first layer of cake on the board / plate and top with ¾ cup buttercream

    Note: Sprinkle additional nuts here if you would like (I love adding my candied pecans, recipe on instagram stories @bianca.bakes)

  5. Place second layer on top of buttercream. 

  6. Use about 1.5 to 2 cups of buttercream to cover the remainder of the cake how you wish. 

  7. Any leftover buttercream can be used for piping additional details, painting on some color, or can be stored in airtight container (at room temp for 2 days, in fridge for 2 weeks, in freezer for 3 months). 

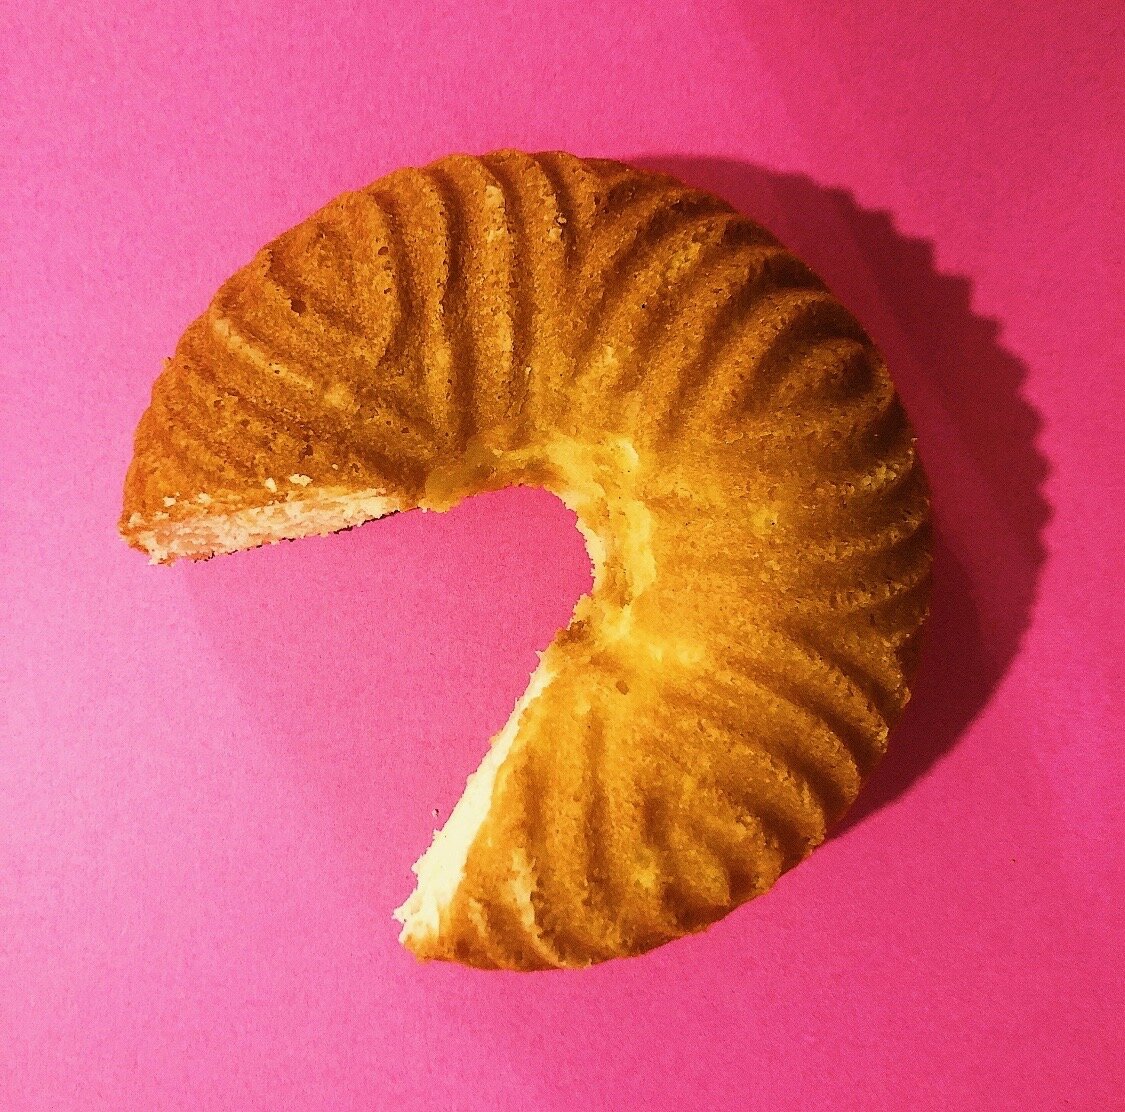
My Favorite Pound Cake

IMG_3005.JPG

INGREDIENTS

Cake 

Makes two 8x4” loaf pans — OR — one large bundt pan + mini bundt pan for sampling

  • 340g bleached cake flour

  • 340g unsalted butter, at room temperature

  • 600g superfine sugar
    (granulated sugar works well too, but the fine sugar makes a perfect crumb)

  • 6 large eggs, separated

  • .5 tsp kosher salt

  • 1/4 tsp baking powder

  • 1/4 tsp baking soda

  • 2 tsp vanilla extract

  • 1/4 to 1/2 tsp lemon extract (I use just 1/4 tsp, but if you like lemon extract go for the 1/2 tsp)

  • 227g full fat sour cream (i.e. 8oz), room temperature


METHOD

First, Let’s get organized!

  1. Heat oven to 300° F and prepare bundt pan or loaf pan liberally with baking spray

  2. Measure out ingredients and separate eggs, keeping the whites in a large metal mixing bowl.

Prepare cake batter

  1. In stand mixer or with electric hand mixer, cream butter and sugar together until light and fluffy on medium speed (the mixture should be pale in color and visibly more voluminous. Takes about 5 minutes for me, but it differs across mixers, so use visual cues).

  2. In a separate bowl sift together cake flour, baking powder, baking soda, and salt. Use a whisk to fully incorporate all of the dry ingredients.

  3. Once the butter and sugar are fully creamed, alternate adding in about one fourth of the flour first, and then egg yolks 2 at a time (making sure that each ingredient gets fully incorporated. Just a few seconds, do not over beat). Repeat this until all flour and egg yolks are well incorporated.

  4. Add in the room temperature sour cream and scrape down sides of the bowl.

  5. Set this mixture aside, and move on to the egg whites (which should already be in a clean metal mixing bowl). With a clean hand mixer or clean whisk attachment on stand mixer, whip the egg whites to stiff peaks.

  6. With a rubber spatula, FOLD the egg whites into the cake mixture.

  7. Pour cake batter into prepared pan(s).

BAKE!

  1. Bake at 300°F for 30 minutes. Then, increase temperature to 325°F for another 30-45 minutes. This cake batter is rather thick so it takes some time to bake. Depending on your oven, you may need less time.

A note about my recipes: All of my recipes are in grams (weight) versus cups etc. (volume). With the exception of teaspoon measurements, I do this because it allows me to share with you a recipe that I know will work and be consistent each time. Weight measurements are always the same, but the volume in a measuring cup etc. can vary person to person. I promise, having a kitchen scale is so worth it! There are plenty of cheap ones at Amazon for less than $15 :)


Pear Cake with orange and nutmeg

EE20EFB3-F0DC-4D20-8EC8-8924B2139280.JPG

Happy fall everyone! This is a perfect fall cake to whip up for a dinner party or even just as a casual ‘snack cake’ (it’s a thing in my house haha). It’s simple and takes no more than 20 minutes to come together with about 45 min - 1 hr to bake…making it perfect for lazy fall days.

While I used Bosc pears for this one, it really works well with so many different fruits. To name a few: stone fruits (when in season) are lovely here, apples would be amazing, or even berries!

Enjoy and let me know what you think!

A note about my recipes: All of my recipes are in grams (weight) versus cups etc. (volume). With the exception of teaspoon measurements, I do this because it allows me to share with you a recipe that I know will work and be consistent each time. Weight measurements are always the same, but the volume in a measuring cup etc. can vary person to person. I promise, having a kitchen scale is so worth it! There are plenty of cheap ones at Amazon for less than $15 :)

INGREDIENTS

Cake 

  • 150g granulated sugar

  • 1 tsp finely grated orange zest

  • 85g unsalted butter, softened

    • Note: If you want to get fancy and pull out a thermometer, I have found that the perfect temperature for soft but pliable butter is around 65°F . If not, just make sure it is softened enough where medium pressure with your finger makes an indent

  • 30g virgin coconut oil, unrefined

    • Note: The coconut oil should be in a solid state, about 70°F

    • Also, if you can’t find virgin coconut oil you can certainly use all butter, but I love the velvety richness that the oil adds, and softens up the crumb

  • 1 tsp. baking powder

  • ¼ tsp of kosher salt

  • 120g unbleached all purpose flour, sifted

  • 100g whole eggs (~2 large eggs)

  • 1.5 tsp vanilla extract

  • 2 pitted pears, skin on and sliced however you desire (I used bosc, bartlett works too!)

Topping (sprinkled on top before baking)

  • ¼ tsp fresh grated nutmeg (or ground)

  • 4 tsp granulated sugar (you can add a bit more here if your fruit isn’t as sweet)

  • roughly .5 tsp of finely grated orange zest


METHOD

First, Let’s get organized!

  1. Heat oven to 350° F.

  2. Measure out ingredients. You can also prep the pears now. (As a tip: measure sugar and orange zest straight into the mixing bowl to save on dishes).

  3. Grease 8in or 9in springform/loose bottom pan with baking spray. After greasing the pan, cut out a round out of parchment that fits the bottom of the pan, and place into the pan (this will make releasing the cake from the pan very easy!) The cake can also be made easily in a regular round cake pan, just be sure to grease it well for easy release.

Now, let’s make some fragrant orange sugar...

  1. Add the orange zest to the sugar and rub it together with your fingers to release the oils and orange essence

On to the rest of the cake batter...

  1. In a mixer with the paddle attachment, or with hand mixer, add the butter and coconut oil to the bowl with the orange sugar and mix until lighter in color and fluffy.

  2. Add the baking powder and salt to the butter mixture and continue mixing until combined. 

  3. In a separate small bowl, lightly mix eggs with vanilla extract and add to the butter mixture. Continue mixing until well incorporated, scraping the sides and bottom of the bowl with a rubber spatula halfway through to make sure there are no unmixed bits stuck to the bowl.

  4. Now, add the sifted flour and mix until just combined. 

  5. Spoon the batter into your pan and smooth out the top.

  6. Slice the pears (i left the skins on) and fan the pear slices on top of the batter or arrange in any pattern you wish!

  7. Sprinkle the top with the sugar, nutmeg, and orange zest topping. Feel free to add more if you want an extra crunch on the top.

Bake!

  1. Bake at 350° F for 40min to 1 hour, approximately, until a toothpick comes out clean. Remove and cool. The bake time will vary depending on what pan size you use, so I recommend starting the timer at 40 minutes and checking with a toothpick at that point.

Enjoy!

  1. Allow cake to cool in pan for approx. 10 minutes. Once pan is cool enough to handle, pop off the sides of the springform and allow to cool for at least another 30 min on a cooling rack.

    ( if not using springform, flip the cake over onto your hand and place on a cooling rack, right side up).

  2. Eat right away or cool completely and wrap in plastic wrap / airtight container. This cake tastes great the day after!

Serving Suggestion:

  • Serve slightly warm, topped with a little powdered sugar.

  • Serve with some sweetened whipped cream

Make Ahead / Freezing:

  • This cake also freezes really well! Just allow it to cool completely and then wrap well with plastic wrap or foil and place in a freezer bag. Will last in freezer up to a week or two

Enjoy! Let me know how it goes and if you make it feel free to share on social media with tag #biancabakesblog


Inspiration Series

BlackPantherCake.jpg

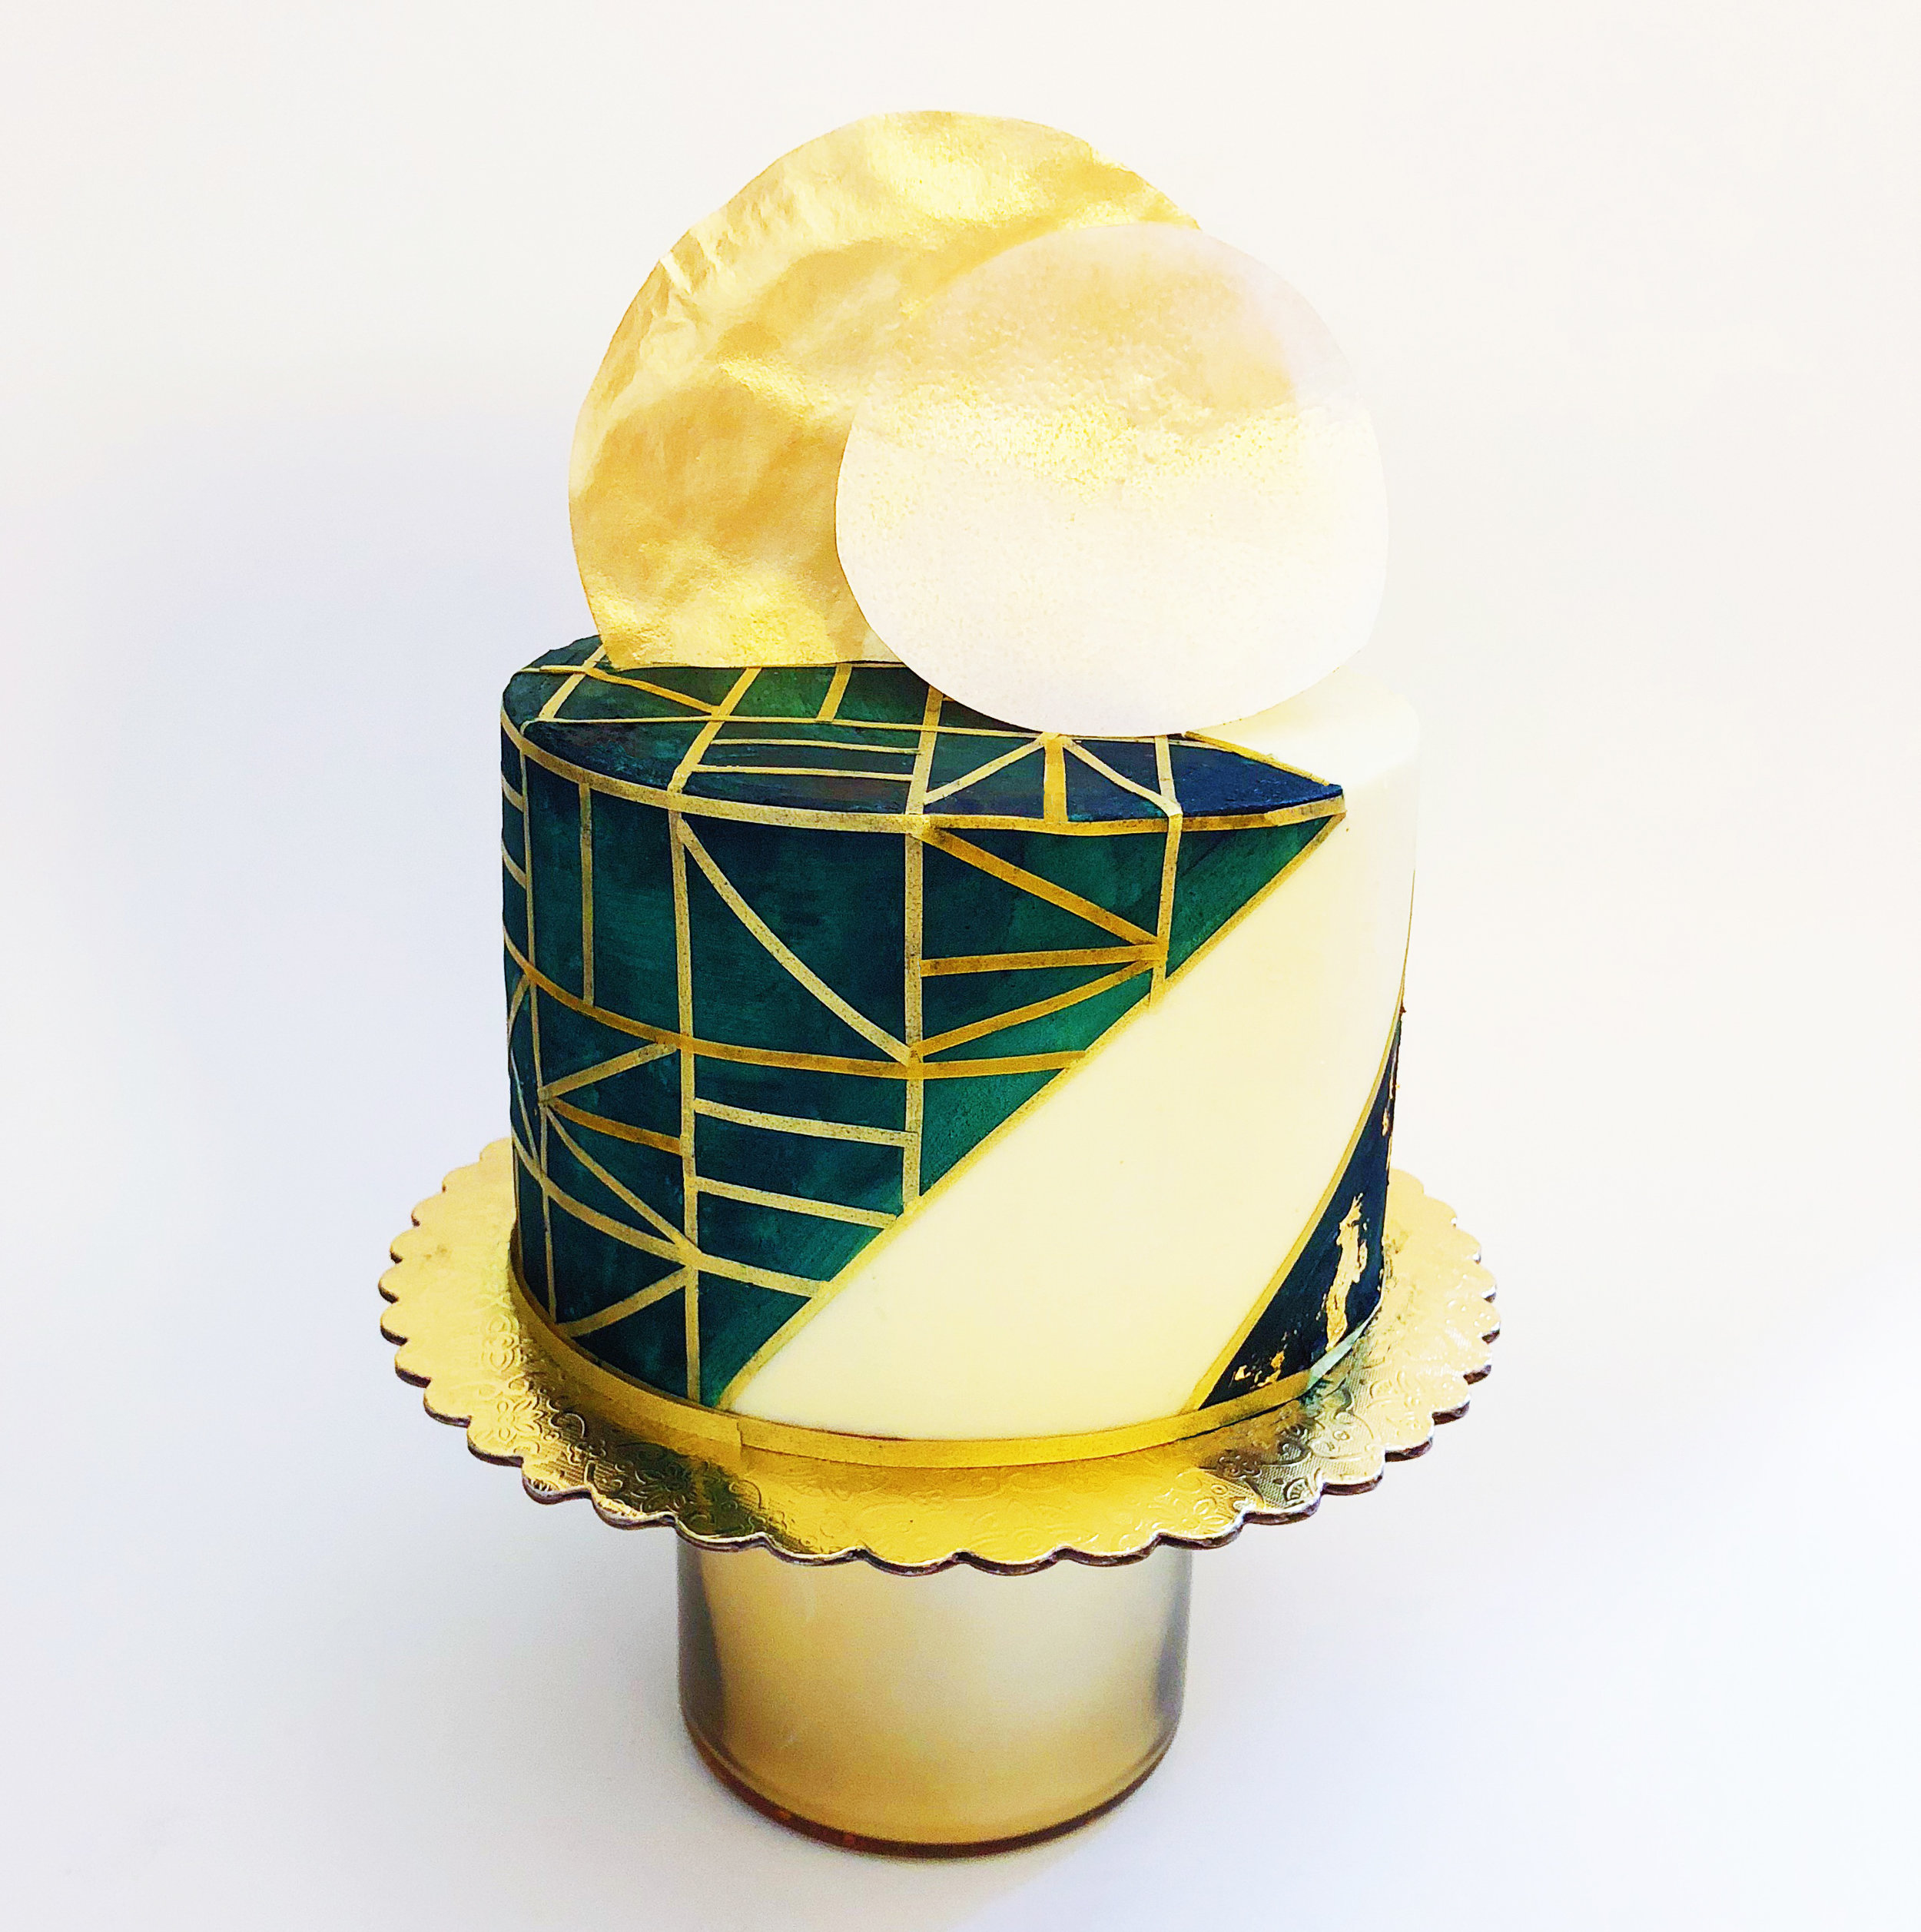
This weekend I got to create a smash cake for one of my best friends adorable 1 yr old, Ndiahna. She had chosen the theme of Black Panther ("African Royalty") for the party and gave me free reign to create a mini cake that worked within the theme. I saw Black Panther back in February on it's release date (I want to see it again!) and was so in love with all of the patterns, textures, and vibrant colors in the costumes. So naturally, the first thing to cross my mind as a point of inspiration was one of the outfits worn by the characters Nakia and Shuri. It seemed like a natural starting point.

After doing some research I was reminded of one of my favorite outfits from the whole movie, Nakia's green dress from the casino fight scene. As you can probably tell, I decided to use this dress as a source on inspiration. See below for a side by side.

black panther costume.jpg

I really wanted this cake to feel regal with deep jewel tones and radiant golds, so I had to figure out what medium would allow me to get those colors..especially since I refuse to use fondant. 

I decided to cover the cake in a white chocolate ganache to get the same kind of smooth surface and painted the green with edible paints. I then used edible fabric sheets to create the stripes, edible gold leaf, and wafer paper painted with gold lustre dust for the topper. Really love how it turned out! 

572915CC-1364-4806-BC09-2CAC0C0725D9.JPG

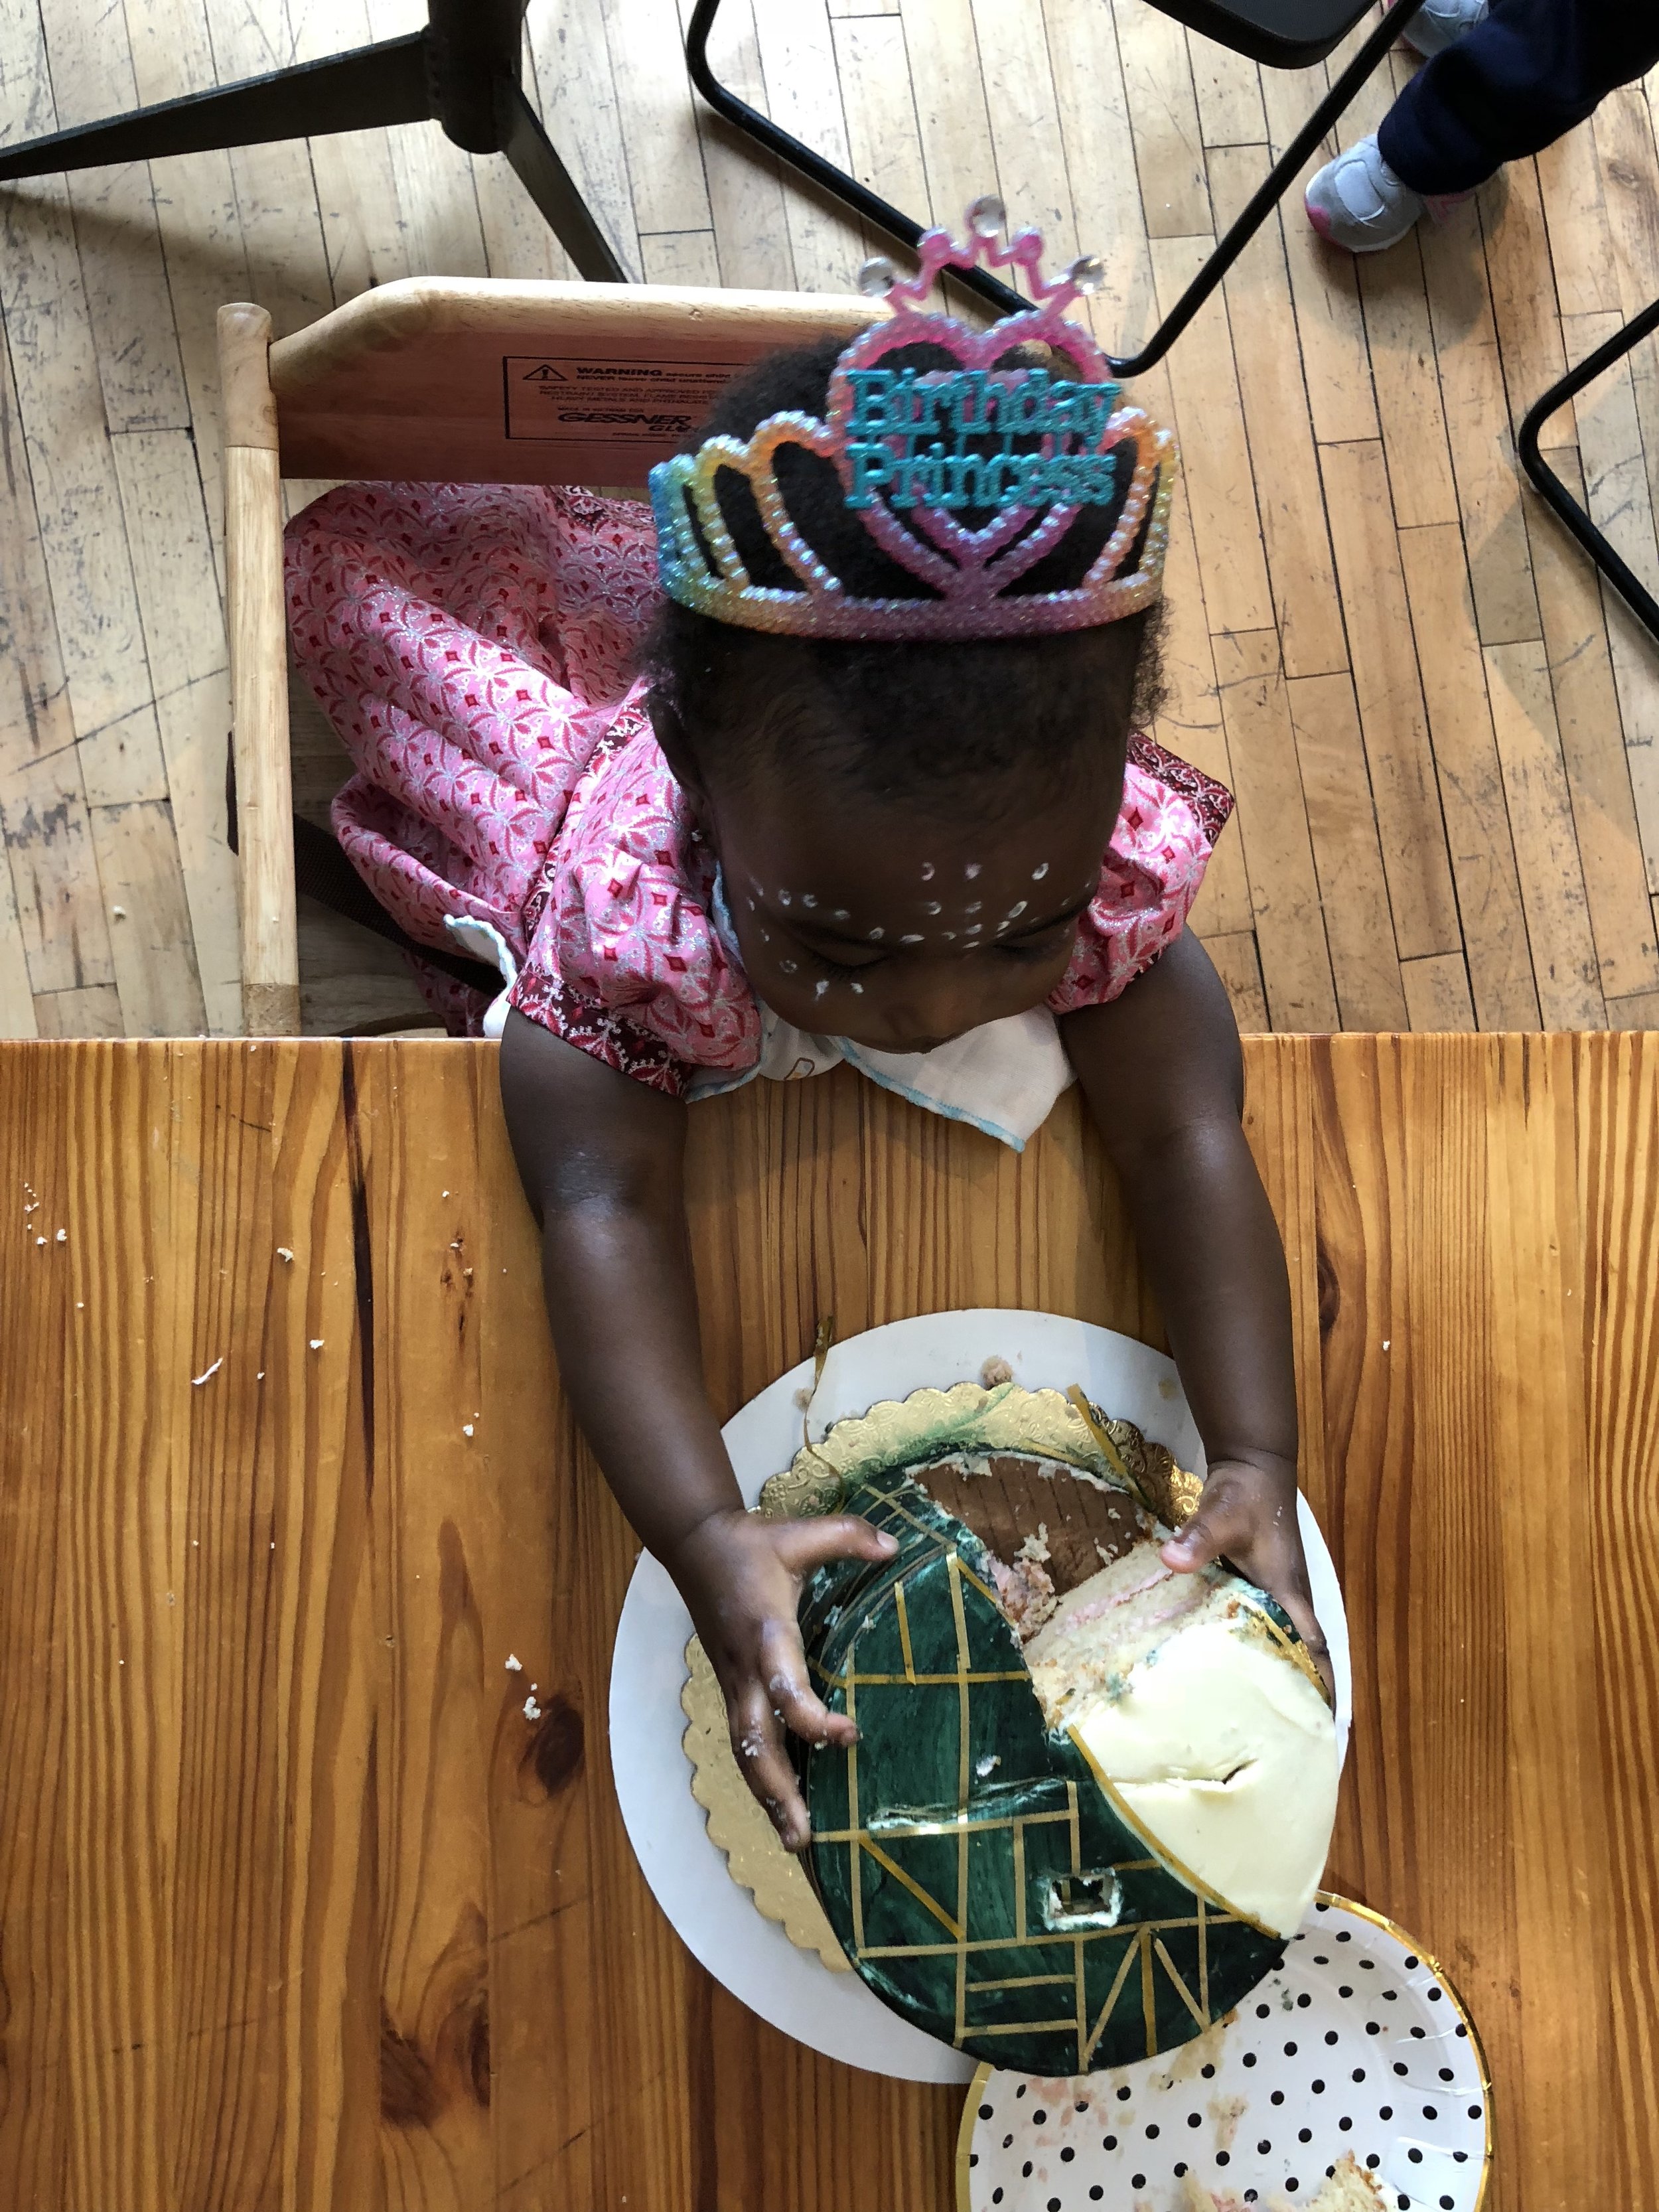
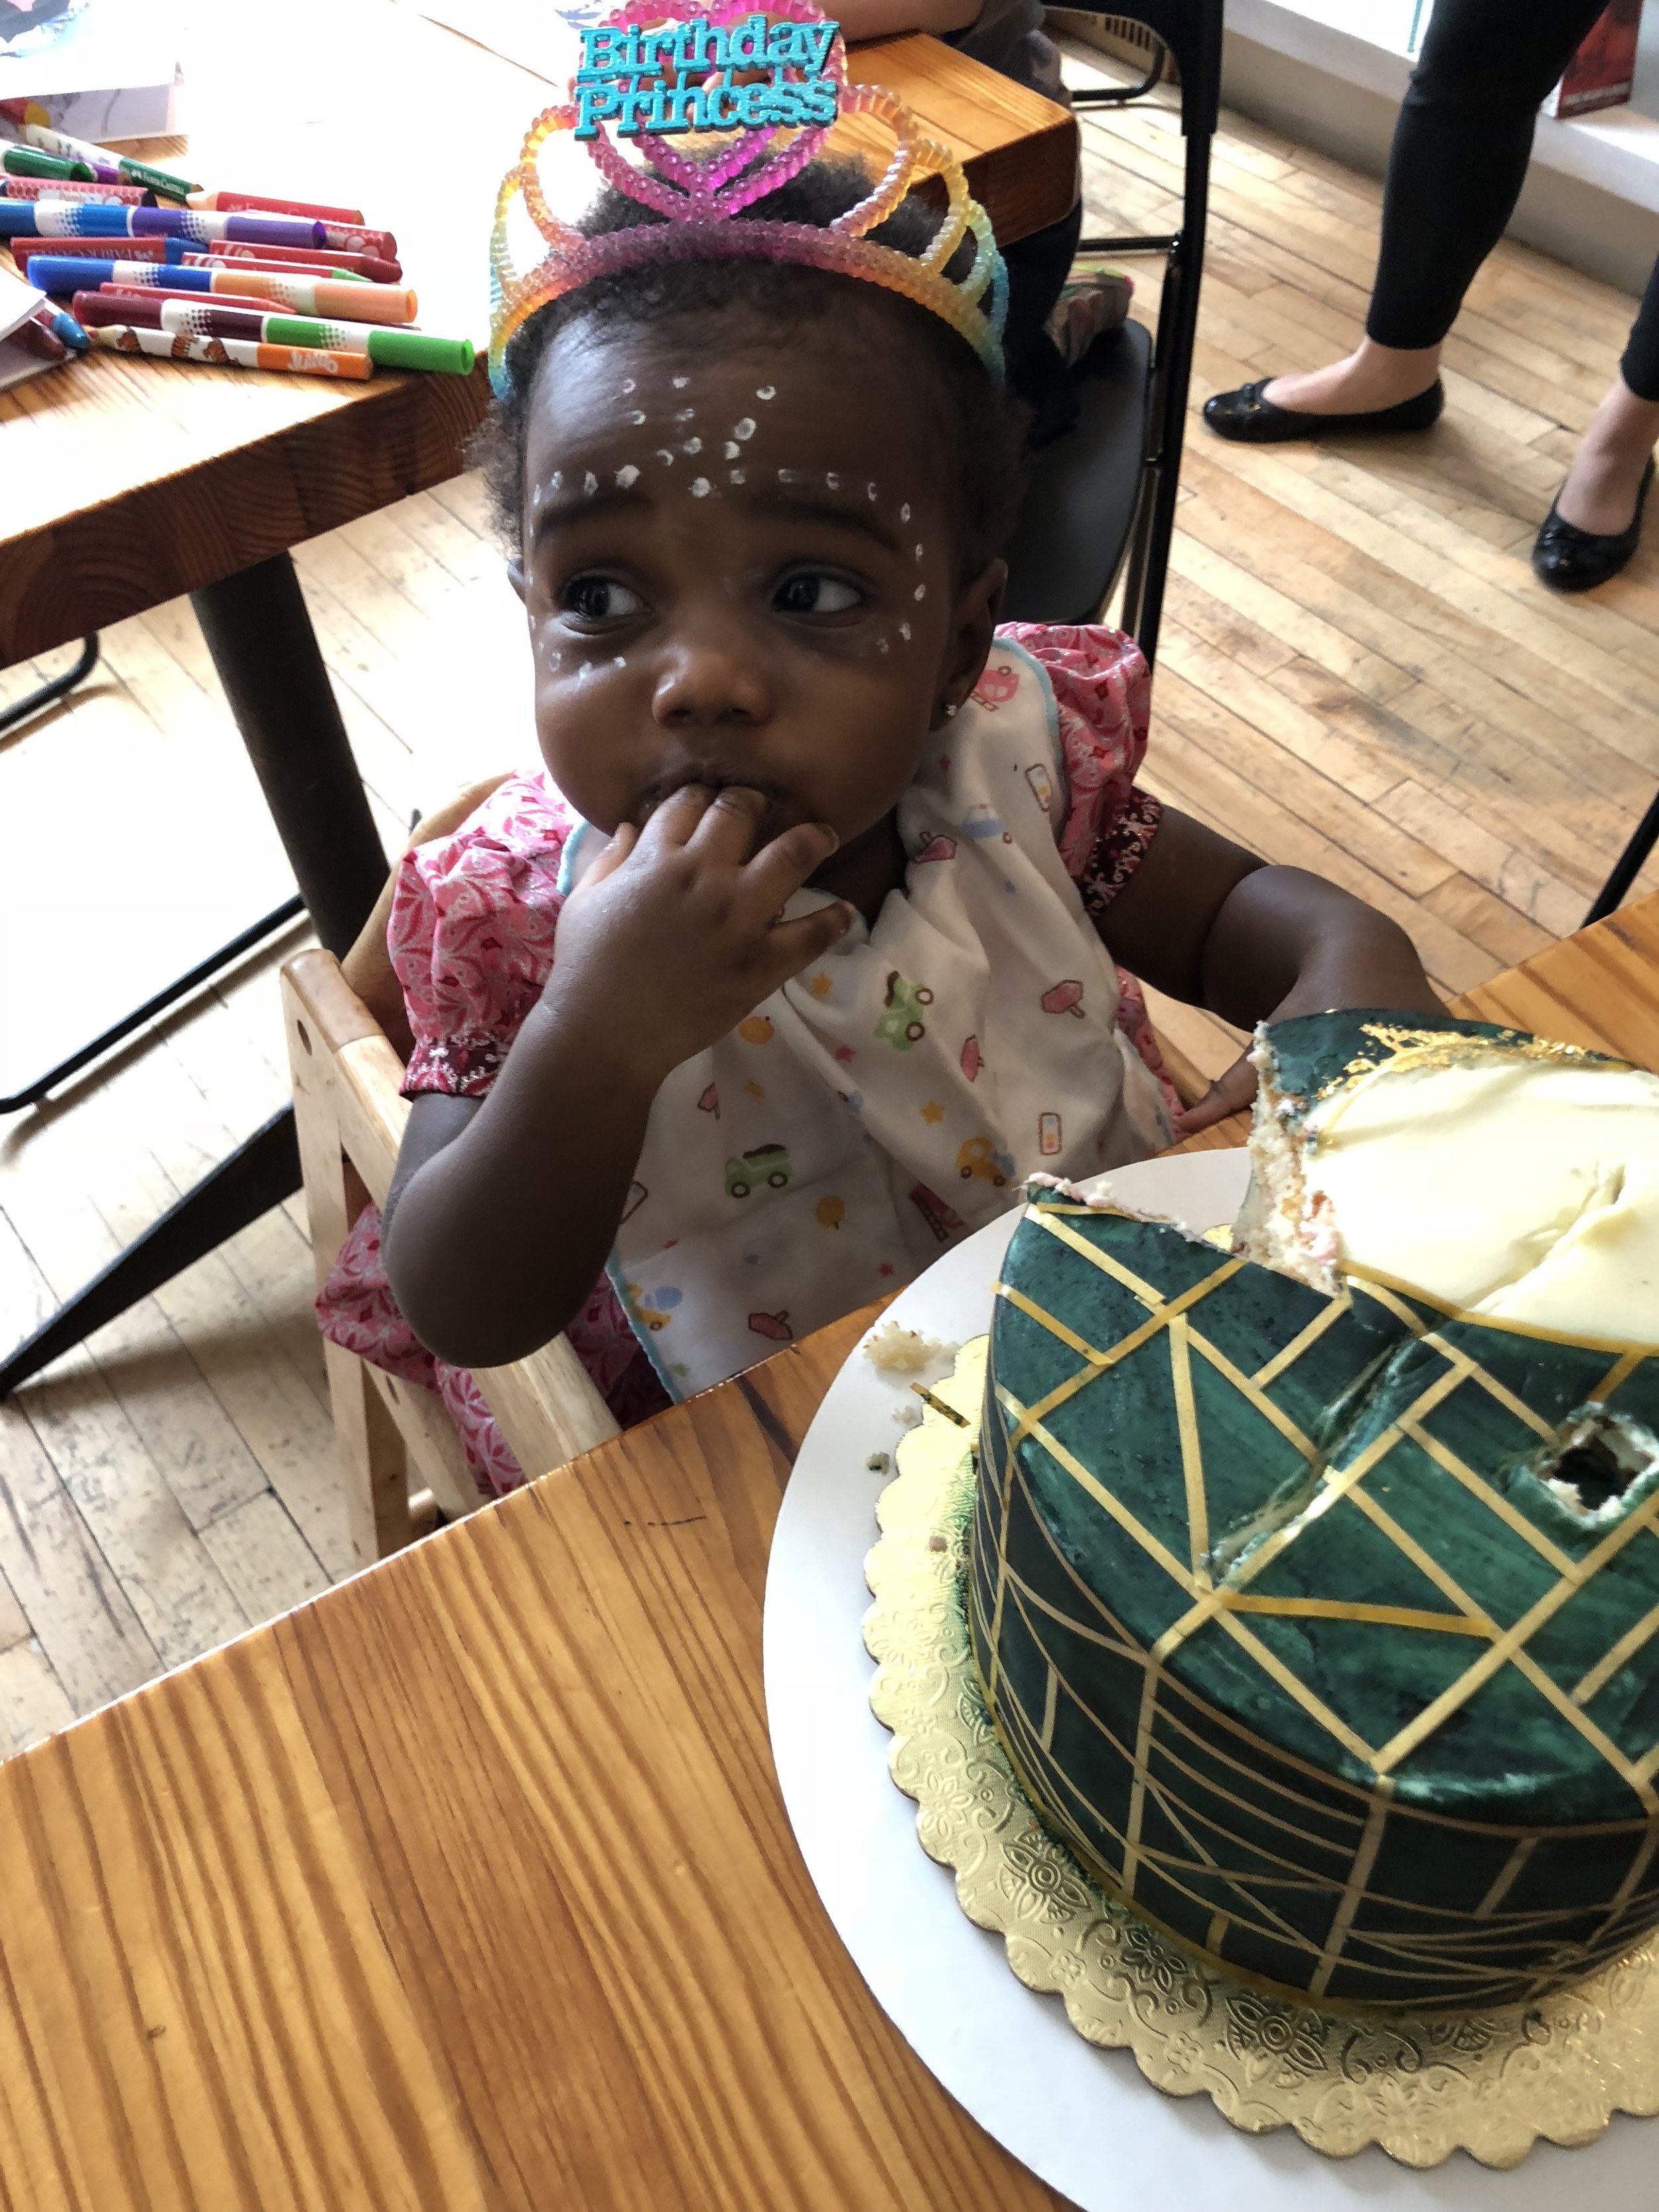
I think Ndi enjoyed it too :)

A lesson learned for next time, buttercream or whipped ganache might be easier for a baby to actually smash. We had to help her out a little bit haha.